
How To: Organize Kids Art and Schoolwork 2.0
If you haven’t read our first blog on How To Organize Your Kids Art, start here first!
*This post contains affiliate links. All opinions are our own!

As my daughter is now 7 (I can’t believe that just came out of my mouth!), time has allowed our systems to naturally evolve in how we tame and organize the abundance of art.
As the end of the school year approaches, I wanted to share our updated organizational art system should you feel yours is in need of a refresh too!
But first, let me explain the need to tweak our OG system…
In September of last year, we renovated our kitchen. And while it has been the best thing we could have done to elevate our home life, the change sent a ripple into some of our current routines and systems.
For one, we decided that displaying art all over our brand new fridge wasn’t the vibe anymore. Despite the sweet and cozy nature, investing in our kitchen meant we wanted to keep our new appliances shining on their own for a bit without dressing them up in our travel magnets and the various iterations of self portraits from the past 8 months of the school year..
No more fridge duty meant, where does the art go?
While we still display a piece or two on our built-in bookshelf or piano, it’s certainly not as much as the toddler years when art was really THE thing she was super proud of.
This means if it’s not being displayed, and it’s not immediately going into recycling, its going into…

The Art drawer
The Art Drawer is simply that, a drawer for art! It’s a temporary home for all things art and school, when you’re looking for art to go ANYWHERE else but your kitchen counter, dining room table, and entryway.
Why was the Art Drawer born?
When my daughter comes home from school, the first thing she does is empty her backpack onto our kitchen table.
Inside her Mary Poppins bag are items that either stay home for good (completed work), or return to school the next day (HW, notebook, iPad, reading materials, etc.)
As our table was slowly becoming a breeding ground for those “keep at home” items, we needed a simple solution to eliminate the clutter without immediate focus or fuss!
This is not to say I don’t weed through the obvious non-keep items (and toss them straight into the recycling bin.)
But the beauty of the Art Drawer is it’s easy enough for your kids to toss items into, it provides flexibility in keeping the clutter at bay, and it buys you AND your kiddo(s) time and perspective until you are ready to review.
*If you have multiples, and you’re not labeling their art religiously, you’ll need to subdivide the drawer. A simple drawer divider will do the trick!
Because if you have children who have already been in “school” since their 2’s, you know the quantity routine all too well…
It’s not to say you don’t “ooo” and “ahhh” when your child proudly shares their newest work of art - it’s simply the equivalent of raising your 2nd child instead of your 1st (says the 2nd child herself!)
It’s the experience of knowing that there’s too much coming through the doors for every single thing to be viewed as sacred and precious (read: keepable)
However, even with time and perspective, you can still form attachments.
To my surprise, I found myself attaching MORE beyond the toddler years (when Mila started to craft her own “stories”)…
If you didn’t already know we were New Yorkers…
Kindergarten

1st grade
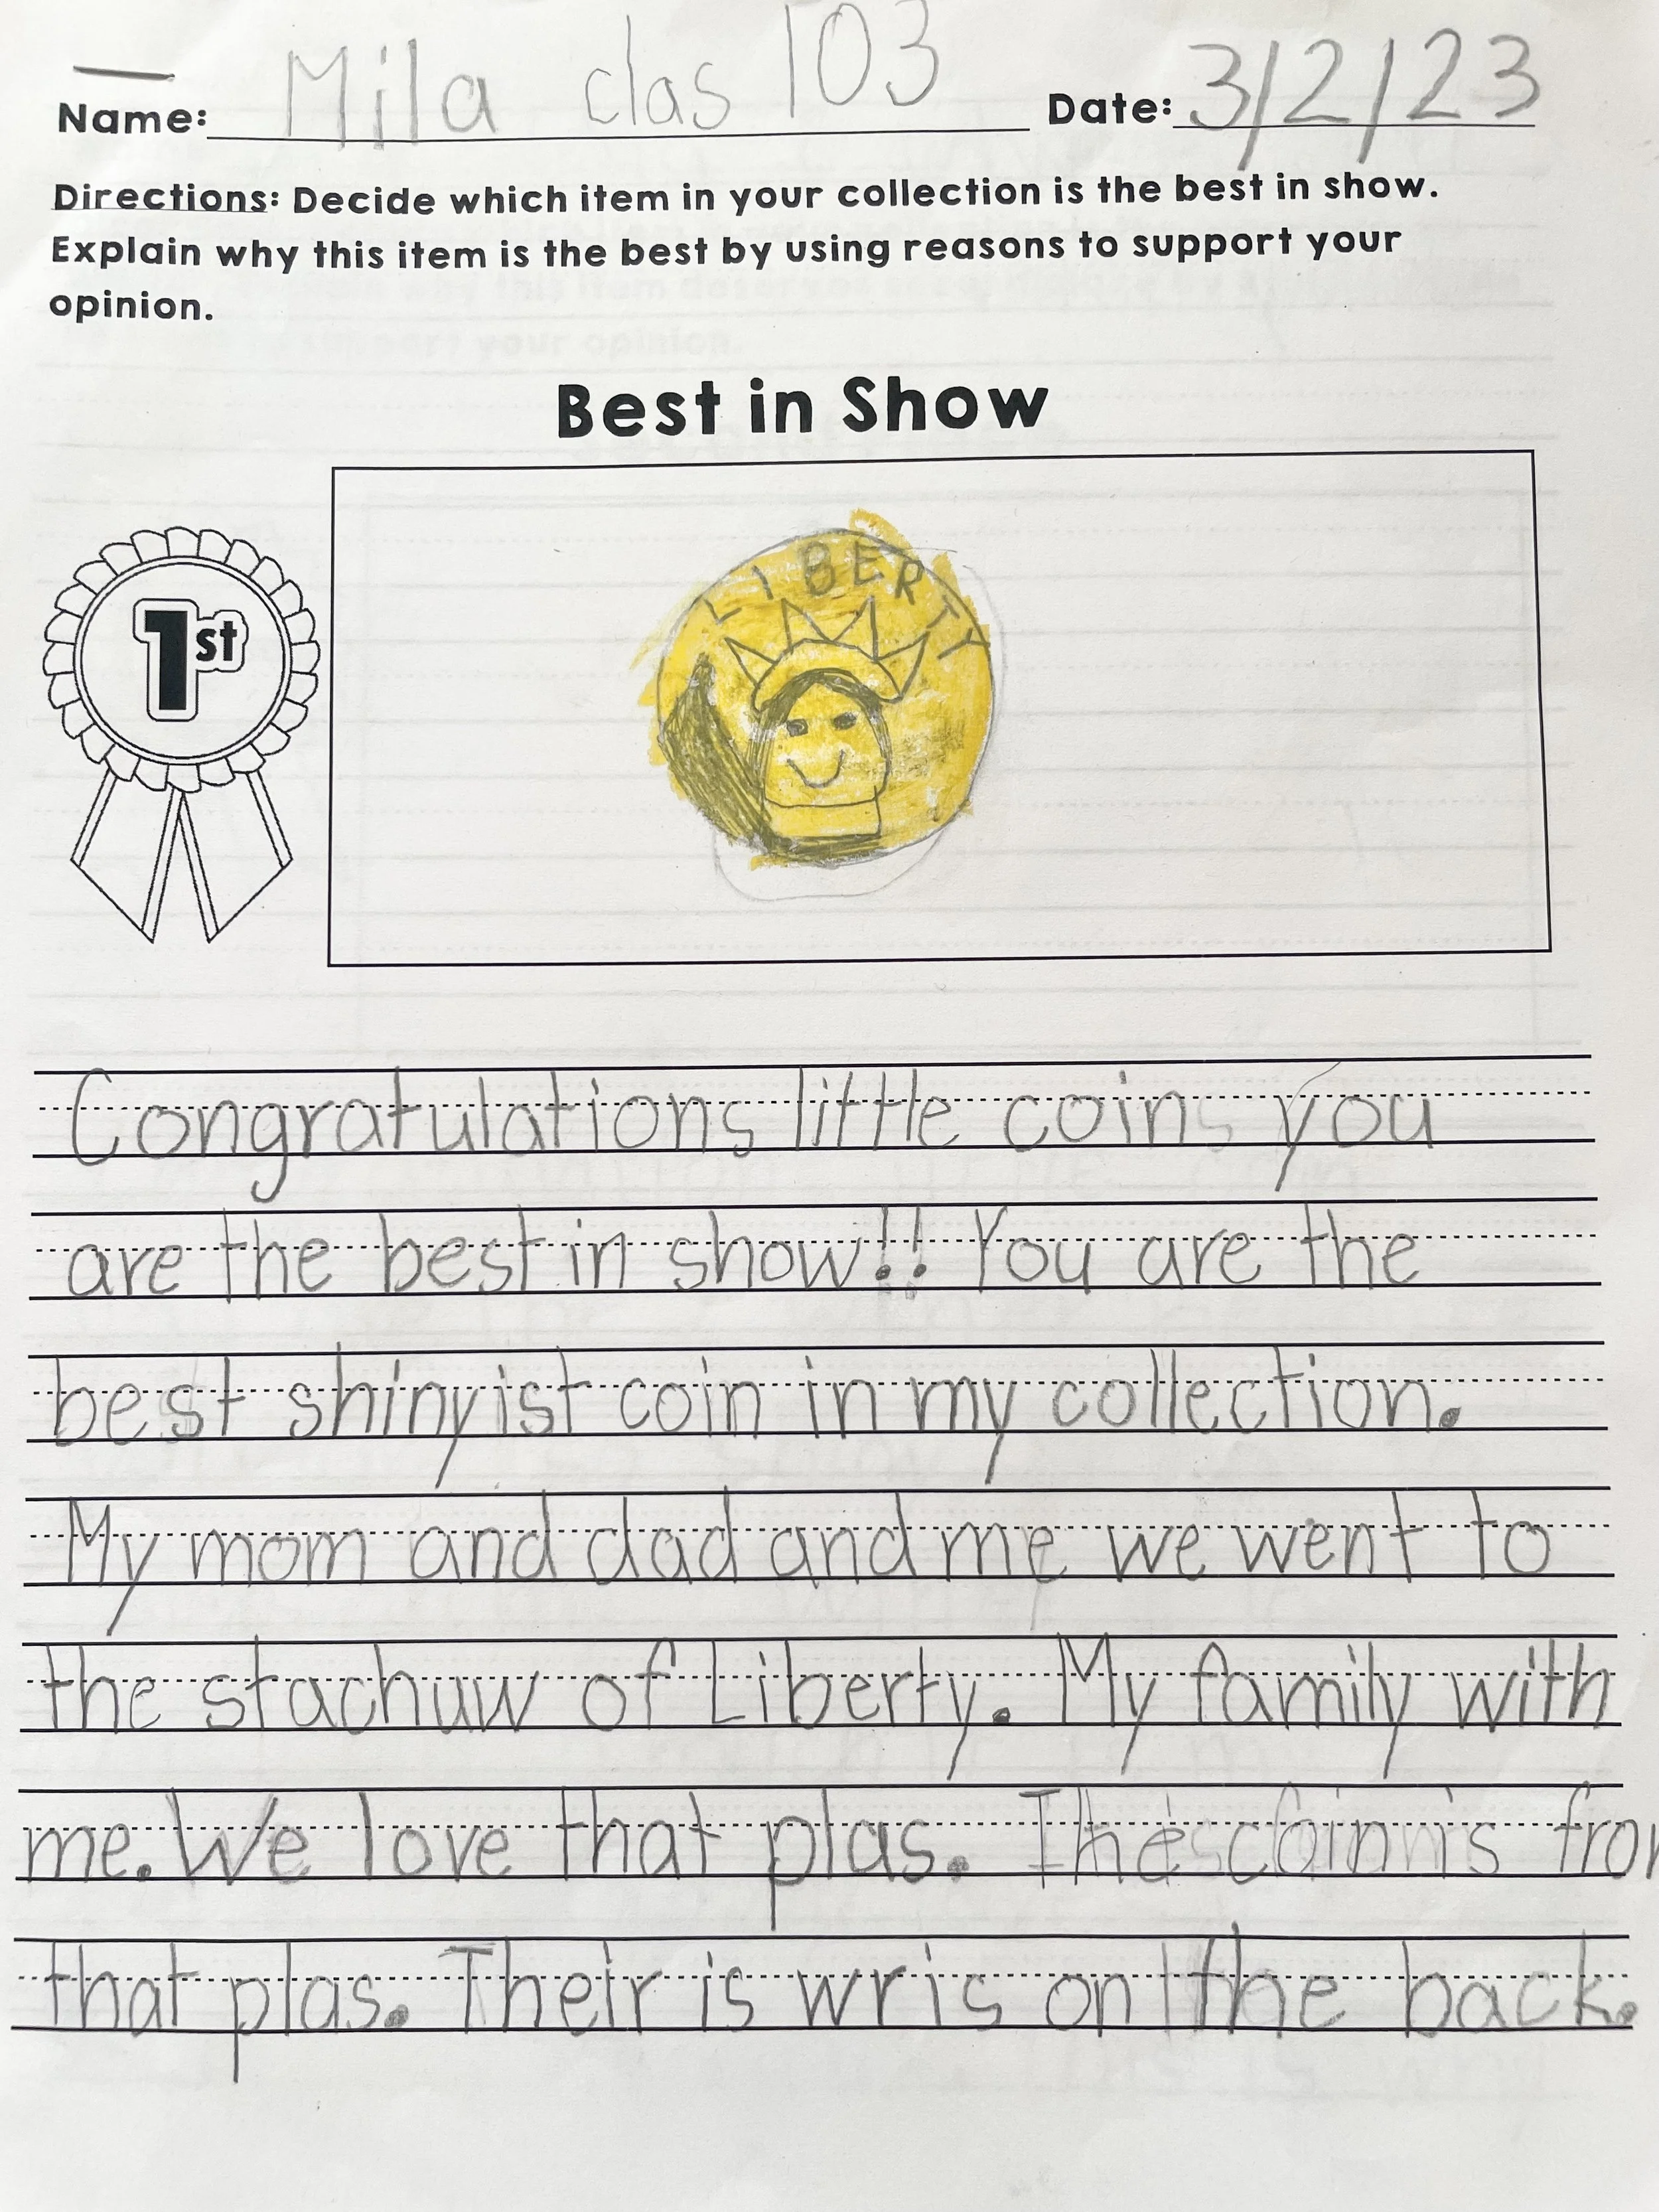
was it the cockroach or lady liberty that gave it away? LOL!
The point is, as a semi-ruthless mama & professional organizer, even I struggle with wanting to hold onto these tangible growth milestones forever.
And while saving these things is likely not something our kids will request (or even want) one day, there can be middle ground to honor ourselves as proud parents too.
There’s an excerpt in the book Clear Your Clutter with Feng Shui by Karen Kingston that has always stayed with me, especially when coaching clients with collections:

real talk:
We will not NEED our children’s art and schoolwork forever. Heck, your kid(s) may not even hit middle school years before you re-edit and make space for the next new thing in their lives that becomes (more) important!
The point is, you are allowed to create space for what is deemed “necessary” right now, and for me, that meant loosening the reigns (just a smidge) on the volume.
But Laura, how do I tame the volume?!
Let me break down the exact steps:
Step 1: Have your kiddo(s) empty the contents of their backpack(s) every single day. Whether it all lands in their Art Drawer, or you have time to edit right then and there, it’s all about managing smaller chunks, and eliminating the dreaded pile on your kitchen table.
Step 2: If you are reviewing on the daily, be diligent that at least half of it goes straight to recycling. For our household, this includes completed word searches, other kids art work (if you know, you know), scrap pieces of paper, etc.
Step 3: Writing pieces, art, or anything that you are on the fence about gets placed into YOUR version of the Art drawer - if you don’t have a drawer, this can be a lidded container, or anything that has a distinguished limit. Avoid anything exposed, as the paper will eventually curl and rip over time. The goal is to have a “home” until you collect enough to go through it again (*if I’ve learned anything, a one time pass is not enough! Time allows perspective.)
Step 4: When the Art drawer starts to look full, go through it. Don’t wait for it to overflow! Usually I’ll do a once over with my daughter on a school break, and then later I may go back with a fine tooth comb depending on how much we’ve saved.
Step 5: Once you have emptied the Art Drawer, you’ll need “forever” storage. For us, saved art goes into these portfolio boxes below. Don’t forget to label them with your child’s name (important if you have multiples), age, teacher’s name and school year!


I especially love that these boxes have a slim and standard sizing, depending on how much art you choose to save from year to year. They either stack, or can be “filed” into a bin or ottoman cube so they aren’t eating up a ton of space - perfect for NYC living!
Of course there are a million and one ways to interpret step 5 - some of which I mention in How To Organize Your Kids Art, and others which we customize for our clients unique needs, but this is what currently works for my family as I STILL prefer tangible art to digital. #ElderMillenial
Who can say what will happen in the next 7 years, but as we grow and change, so will our systems!
But Laura, what about the 3D art?
My daughter’s after school classes include sculpting and origami, so believe you me, I know how maddening and overwhelming the 3D art can be!
With the exception of displaying or saving a couple of Mother’s Day specific crafts (I’m a mama first after all!), everything else gets tossed (over time) or regifted… My mom loves Mila’s art, because turns out being a grandma gives you more bragging rights than being a Mom!

a personal note: my gram’s grave
My grandma was my best friend, and losing her is a loss I’m still learning to navigate.
As she is no longer in the physical world, one of the ways we like to stay connected to her is by visiting her grave.
Mila LOVES bringing her clay sculptures or anything she paints on shells or rocks to decorate (and, as she says “organize”) Great Grandma’s grave.
Of course over time the paint peels and the clay cracks, but it’s a ritual we love, and it brings us all a lot of joy to maintain her resting place.
The most important thing I’ve learned is to honor your heart, and create a SIMPLE (and stylish!) system that supports that.
If you’re swimming in piles, or need some hands on help to tame the clutter, fill out our form - we are always here for you!